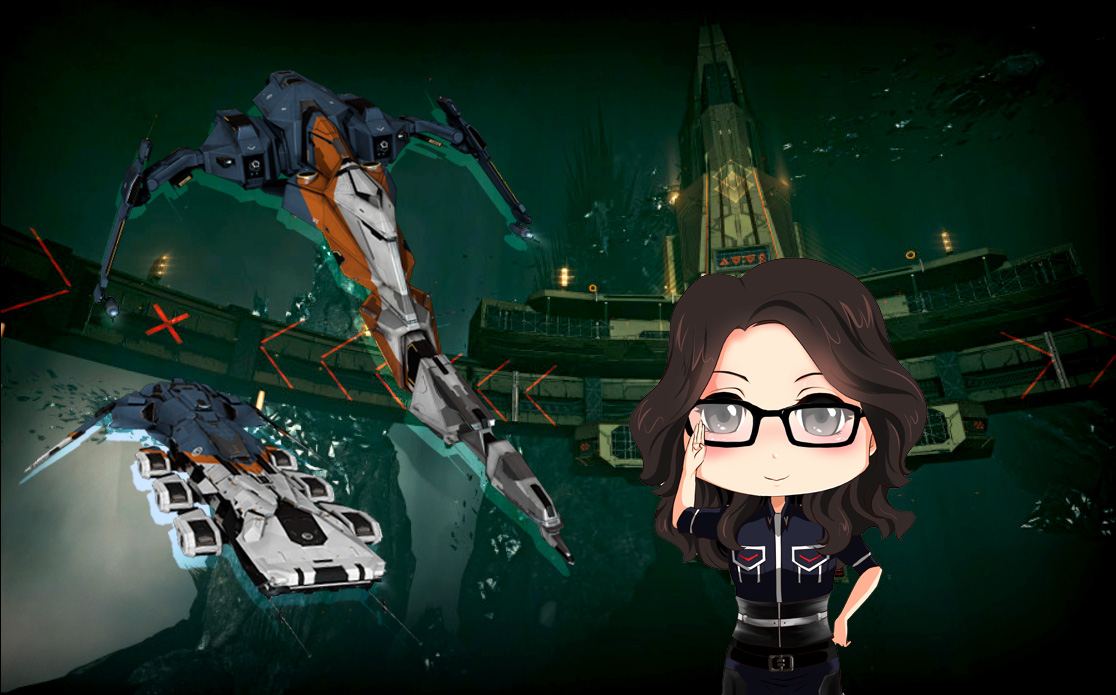
A few weeks ago CCP unveiled their new format for abyssal PvP. We’re moving away from the crazy 1v1 Ikitursa meta and into a new, constantly changing format. What’s more, we won’t have to slog through the PvE content first! There are now “proving filaments” which will place you into a queue as long as you stay near the beacon in space. Once a suitable match is found the filament will be used up and you will be thrown into a fancy new abyssal area. That’s sexy as hell and I love it. Thanks CCP Deadlift!
As I said, the format of the matches will constantly be changing. We’re starting off with 2v2 T1 Cruisers from the 16th -> 28th July 2020. Following this will be free-for-all 5-man T1 destroyer matches from the 31st July to the 2nd August 2020. The ship choices for these matches are as follows:
Cruisers: Omen, Caracal, Thorax, Stabber, Maller, Moa, Vexor, Rupture, Arbitrator, Blackbird, Celestis, Bellicose
Destroyers: Coercer, Dragoon, Cormorant, Corax, Catalyst, Algos, Thrasher, Talwar, Sunesis
Rewards for these PvP matches will (obviously) be the loot, but you will also receive a standard abyssal PvP cache which is roughly equivalent to a tier 5 abyssal site loot can. As a new addition, these new arenas will feature a leaderboard. Those placing in the top 100 on this leaderboard by the end of the quarter will receive extra loot in the way of fancy SKINs.
The point of this article, though, is to go over a number of fits which you can just pick up and play with in the abyss. I won’t provide one fit for every ship, but will instead place hulls and fittings into archetypes depending on what you want to do. There are always more options than these, but my fits should get you started.
Update on below: So the meta shifted in a weirder way than I thought! I figured that drone boats would juts be defanged, but nobody does that. I thought damping and kiting would be pretty powerful, but bringing another 4-600 DPS is usually a better shout. Even better still, the Bellicose has gone from “meh” to being one of the better options in the abyss due to the great mix of speed, damage, and tank that it offers with a HAM setup. The optimal fit is linked below just before my brawling section so give it a try 🙂
I have also found that these propless setups are surprisingly good. Check my killboard for some decent Arbitrator pair losses. Sutonia has also had some great success with dual beam Mallers sitting alone with a brick tank. All of my fits below will still work for you, but you can be a lot more creative if you want. Logi Maller with armour Rupture, perhaps?…

Fast, Tanky, or High DPS Brawlers
Starting off with the first proving grounds event, we have 2v2 T1 cruisers. There’s a lot you can do here by being in a pair. You could, for example, kite away with a Blackbird while a relatively untanked Thorax chews up the first thing it tackles. It’s also possible to shut down the expected kiting Caracals with a missile disrupting Arbitrator or damping Celestis. It all depends on what you feel you can accomplish with your skill level. If all else fails then you can always pick up a pair of blaster rush ships and sit on someone’s face. сука rush Torvald!
There’s a reason why that header says or instead of and. It’s quite possible to make a T1 cruiser do 1,000 DPS if you’re willing to sacrifice most of your tank. It’s also possible to make a ship supremely tanky to sit through most of what a Caracal has to offer. Likewise, both of these need to be carefully balanced with speed. If you can’t catch the target then you’re done for. It’s like rock-paper-scissors if you’re a fan of overused clichés.
I’ve got six (6!) fits below for some of the main offerings out there. Many are biased towards shield tanks by nature of their slots or for speed/damage reasons. You can also afford to use only one EWAR mid on damage ships due to limited targets and the benefits of having a pair of ships. Why fit double web when you can fit one each?
You can mix and match these with each other or with a kiting/ewar boat quite easily. Just think about the strengths and weaknesses of the entire setup. If you go for double Moa for that juicy tank, for example, you WILL die to any single kiting ship. A way to get around this is to take an anti-kiting ship with a scram such as a Stabber. Use that as your initial tackle and Caracals shouldn’t get too far.
There was also a Bellicose fit which didn’t quite make the cut. I can’t see a painting boat being useful in this meta, but you can certainly do a surprise 600 DPS if you don’t get shot first. Oh, and spare a thought for the terrible screening Maller idea that lives in my Pyfa now.
Fast Shield Stabber
[Stabber, Proving2v2 Speedy Stabber]

Damage Control II
Gyrostabilizer II
Gyrostabilizer II
Gyrostabilizer II

50MN Quad LiF Restrained Microwarpdrive
Large Shield Extender II
Large Shield Extender II
Warp Scrambler II

Small Energy Neutralizer II
Rapid Light Missile Launcher II
220mm Vulcan AutoCannon II
220mm Vulcan AutoCannon II
220mm Vulcan AutoCannon II
220mm Vulcan AutoCannon II

Medium Core Defense Field Extender I
Medium Core Defense Field Extender I
Medium Core Defense Field Extender I


Warrior II x5
High DPS Thorax
[Thorax, Proving2v2 Shield Thorax]

Damage Control II
Magnetic Field Stabilizer II
Magnetic Field Stabilizer II
Power Diagnostic System II
Reactor Control Unit II

50MN Y-T8 Compact Microwarpdrive
Fleeting Compact Stasis Webifier
Large Azeotropic Restrained Shield Extender
Large F-S9 Regolith Compact Shield Extender

Heavy Neutron Blaster II
Heavy Neutron Blaster II
Heavy Neutron Blaster II
Heavy Neutron Blaster II
Heavy Neutron Blaster II

Medium Core Defense Field Extender I
Medium Core Defense Field Extender I
Medium Hybrid Burst Aerator II


Infiltrator II x5
Tanky XLASB Moa
[Moa, Proving2v2 XLASB Moa]

Damage Control II
Magnetic Field Stabilizer II
Magnetic Field Stabilizer II
Co-Processor II

X-Large Ancillary Shield Booster
Multispectrum Shield Hardener II
Small Capacitor Booster II
Stasis Webifier II
50MN Y-T8 Compact Microwarpdrive

Heavy Electron Blaster II
Heavy Electron Blaster II
Heavy Electron Blaster II
Heavy Electron Blaster II
Heavy Electron Blaster II

Medium EM Shield Reinforcer I
Medium EM Shield Reinforcer I
Medium Thermal Shield Reinforcer I


Acolyte II x3
Basic Brawly Omen
[Omen, Proving2v2 Pulse Omen]

Damage Control II
1600mm Crystalline Carbonide Restrained Plates
Energized Adaptive Nano Membrane II
Energized Adaptive Nano Membrane II
Heat Sink II
Heat Sink II

50MN Y-T8 Compact Microwarpdrive
Stasis Webifier II
Small Capacitor Booster II

Focused Medium Pulse Laser II
Focused Medium Pulse Laser II
Focused Medium Pulse Laser II
Focused Medium Pulse Laser II
Focused Medium Pulse Laser II

Medium Trimark Armor Pump I
Medium Trimark Armor Pump I
Medium Energy Burst Aerator II


Vespa II x4
RR Auto Ruptures
[Rupture, Proving2v2]

Damage Control II
Gyrostabilizer II
Gyrostabilizer II
Tracking Enhancer II
Type-D Restrained Nanofiber Structure

Compact Multispectrum Shield Hardener
Large Shield Extender II
50MN Quad LiF Restrained Microwarpdrive
Fleeting Compact Stasis Webifier

Large Ancillary Remote Shield Booster
425mm AutoCannon II
425mm AutoCannon II
425mm AutoCannon II
425mm AutoCannon II

Medium EM Shield Reinforcer I
Medium Thermal Shield Reinforcer I
Medium Projectile Burst Aerator II


Hobgoblin II x4
Valkyrie II x1
Blaster Vexors
[Vexor, Proving2v2 Shield Vexor]

Magnetic Field Stabilizer II
Magnetic Field Stabilizer II
Power Diagnostic System II
Overdrive Injector System II
Damage Control II

50MN Quad LiF Restrained Microwarpdrive
Large Shield Extender II
Large Shield Extender II
Compact Multispectrum Shield Hardener

Heavy Ion Blaster II
Heavy Ion Blaster II
Heavy Ion Blaster II
Heavy Ion Blaster II

Medium EM Shield Reinforcer II
Medium Thermal Shield Reinforcer II
Medium Core Defense Field Extender I


Hammerhead II x5
Hobgoblin II x5
Vespa II x5


Void M x3000
Abyssal Kiting Cruisers
Kiting has long been a staple of abyssal PvP. If you can stay away from the scary Ikitursa then you have free reign to pepper it with light missiles. The same is still very true in the 2v2 cruiser format and I fully expect the Caracal to make for an easy option that almost anyone can fly.
Check out the fits below for a few proving ground kiting options including two versions of the Caracal. One aims to kite “properly” with HAMs up to around 36km. Using Heavy Assault Missiles comes with the benefit of the recent Rage buff as well as no super long reload. This opens up slots for nanos and lets you actually kite without worrying that you’re only doing 250 DPS. The RLML version is quite typical, but I aimed for 43k EHP and as much damage as possible. You can still kite, but you can accept that you will eventually get caught and will tank relatively well. This also helps avoid the typical kiting Caracal issue of “The capacitor is empty.”
As before, any of these fits can be combined with one another or combined with an EWAR cruiser from the next section. You also shouldn’t be afraid to go for brawl + kite. The brawler can hold down targets while a HAM Caracal deals damage from range, for example. This also helps fix pesky things like missile application problems.
One thing you might notice is that there are only actually three fits right here. Yeah… As it turns out, most of the other ships in this bracket are completely outshone by the Caracal’s ability to project damage. If you wanted to kite really well with a T1 cruiser then you’d step up to an Omen Navy, Orthrus, Scythe Fleet, or Navy Omen. All of which are unusable in this arena right now. One final option is that you could use a Stabber to kite. My recommendation is to fly something similar to the brawl fit above and use Barrage. You could retool it for kiting with more Tracking Enhancers/ambit extensions and perhaps more speed.
RLML Caracal
[Caracal, Proving2v2 Caracal RLML]

Damage Control II
Power Diagnostic System II
Ballistic Control System II
Ballistic Control System II

50MN Y-T8 Compact Microwarpdrive
Large Shield Extender II
Large Shield Extender II
Large F-S9 Regolith Compact Shield Extender
Multispectrum Shield Hardener II

Rapid Light Missile Launcher II
Rapid Light Missile Launcher II
Rapid Light Missile Launcher II
Rapid Light Missile Launcher II
Rapid Light Missile Launcher II

Medium Core Defense Field Extender I
Medium Core Defense Field Extender I
Medium Warhead Calefaction Catalyst II


Hobgoblin II x2
HAM Caracal
[Caracal, Proving2v2 Caracal HAM]

Damage Control II
Ballistic Control System II
Ballistic Control System II
Nanofiber Internal Structure II

50MN Quad LiF Restrained Microwarpdrive
Compact EM Shield Amplifier
Large Shield Extender II
Multispectrum Shield Hardener II
Missile Guidance Computer II, Missile Range Script

Heavy Assault Missile Launcher II
Heavy Assault Missile Launcher II
Heavy Assault Missile Launcher II
Heavy Assault Missile Launcher II
Heavy Assault Missile Launcher II

Medium Polycarbon Engine Housing II
Medium Core Defense Field Extender I
Medium Rocket Fuel Cache Partition II


Hobgoblin II x2
Beam Omen
[Omen, Proving2v2 Omen Beams]

Damage Control II
Energized Adaptive Nano Membrane II
Heat Sink II
Heat Sink II
Reactor Control Unit II
Medium Ancillary Armor Repairer

50MN Quad LiF Restrained Microwarpdrive
Tracking Computer II
Medium F-RX Compact Capacitor Booster

Heavy Beam Laser II
Heavy Beam Laser II
Heavy Beam Laser II
Heavy Beam Laser II
Heavy Beam Laser II

Medium Ancillary Current Router II
Medium Energy Locus Coordinator II
Medium Energy Locus Coordinator I


Acolyte II x5
Acolyte II x3
EWAR Cruiser Options
It’s no surprise that running an EWAR cruiser in your comp is very effective if you can fly well alongside it. Having a kitey Blackbird on grid lets your DPS ship go to town without any danger of being shot. A Celestis could also really help avoid damage by preventing your opponents from even locking you in the first place.
I think my favourite is the often underused Arbitrator. I just love how you can dumpster the range of an RLML Caracal from 47 to 18km with one missile range disruptor. Two will drop it to 8km. The only problem is that it’s somewhat of a gamble on which weapon system you choose to disrupt in your fit. Get it wrong and you’re kind of useless, unlike a damping ship.
All three of the below options should work very well though. Their key component is that they all need to turn tail and burn away as soon as the match starts. Pull as much range as possible and you’re golden. You might not be fast, but if anything you can at least buy time for your DPS ship friend to put some hurt on.
Blackbird (ECM)
[Blackbird, Proving2v2 Blackbird]

Damage Control II
Nanofiber Internal Structure II
Power Diagnostic System II

50MN Quad LiF Restrained Microwarpdrive
Small Capacitor Booster II
X-Large Ancillary Shield Booster
Multispectral ECM II
Multispectral ECM II
Multispectral ECM II

200mm AutoCannon II
200mm AutoCannon II
200mm AutoCannon II
Auto Targeting System I

Medium Particle Dispersion Projector I
Medium Polycarbon Engine Housing II
Medium Auxiliary Thrusters II


Hornet EC-300 x2
Arbitrator (Weapon Disruption)
[Arbitrator, Proving2v2 Arbitrator]

Drone Damage Amplifier II
Damage Control II
1600mm Crystalline Carbonide Restrained Plates
Energized Adaptive Nano Membrane II
Energized Adaptive Nano Membrane II

Guidance Disruptor II
Guidance Disruptor II
Tracking Disruptor II
50MN Quad LiF Restrained Microwarpdrive

Rapid Light Missile Launcher II
Rapid Light Missile Launcher II
Rapid Light Missile Launcher II
200mm AutoCannon II

Medium Trimark Armor Pump I
Medium Trimark Armor Pump I
Medium Trimark Armor Pump I


Vespa II x5
Celestis (Damps)
[Celestis, Proving2v2 Celestis]

Damage Control II
Mark I Compact Power Diagnostic System
Overdrive Injector System II
Nanofiber Internal Structure II
Nanofiber Internal Structure II

X-Large Ancillary Shield Booster
Remote Sensor Dampener II
Remote Sensor Dampener II
Remote Sensor Dampener II
50MN Quad LiF Restrained Microwarpdrive

Drone Link Augmentor I
[Empty High slot]
[Empty High slot]

Medium Inverted Signal Field Projector II
Medium Thermal Shield Reinforcer I
Medium EM Shield Reinforcer I


Hornet EC-300 x5
Warrior II x5


Navy Cap Booster 400 x9
I hope these fits help you guys now and in the future when we move on from the 2v2 cruiser format. Most of these are generally solid, if tournament oriented, fits. Fly safe o/
[…] Ashy In Space […]